
Jesolo
|
Jesolo
|
|
|
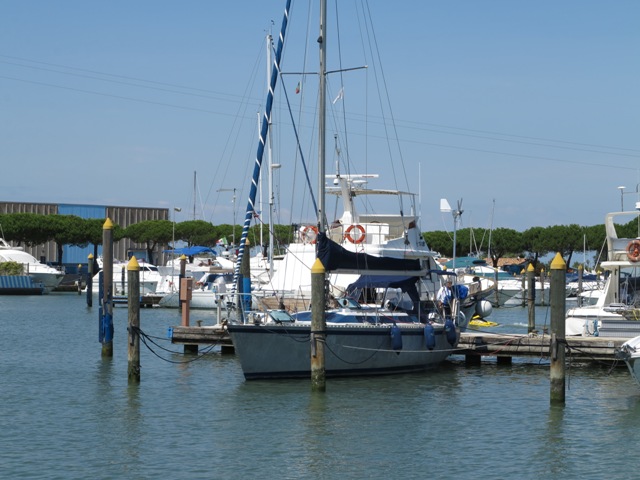
PART 2: JESOLO
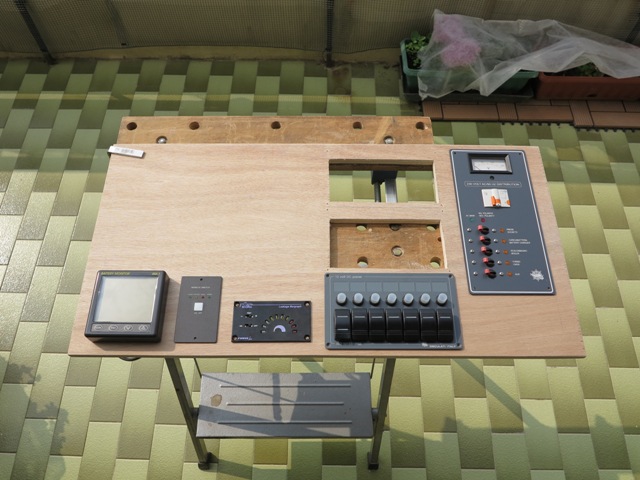
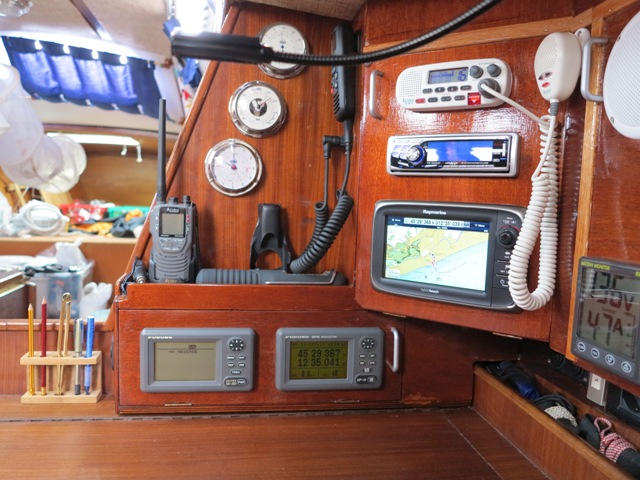
At last, we are in Jesolo! We can see the boat from our house's roof, and we can go there with a short walk, but works are not progressing as fast as we would like, mainly because the solution to each problem is inter-related with the others, and we need to make a plan for everything before committing to a solution. Slowly, the possible solutions are beginning to take shape and the boat fill up with the materials needed for the works. CHARTING AREA: unavoidably, having replaced most equipment which was installed on it, the panel hosting the switchboard and the electronic instruments needs to be rebuilt, and it's a lengthy job, a thousand checks and plenty of varnish coats!
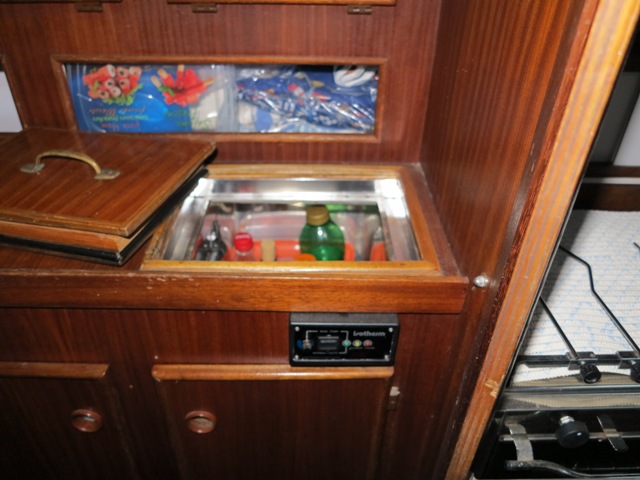
The new instrument panel is slowly taking shape! REFRIGERATOR: The refrigerator is clearly an after-thought, and for some mysterious reason there are TWO cooling units, both poorly installed! One of the compressors does not seem to work, while the other is a more than decent Isotherm ASU unit which only needs to be better positioned. This way we gain the room for a new battery housing which will store the two house-batteries, in place of the former one. Also the presence of two evaporators in the coolbox is annoying, because they are disturbing access to the storage space: taking one out, also this problem is now solved.
Two compressors, both poorly installed! The surviving compressor, now properly installed, leaves room for the new domestic-batteries housing
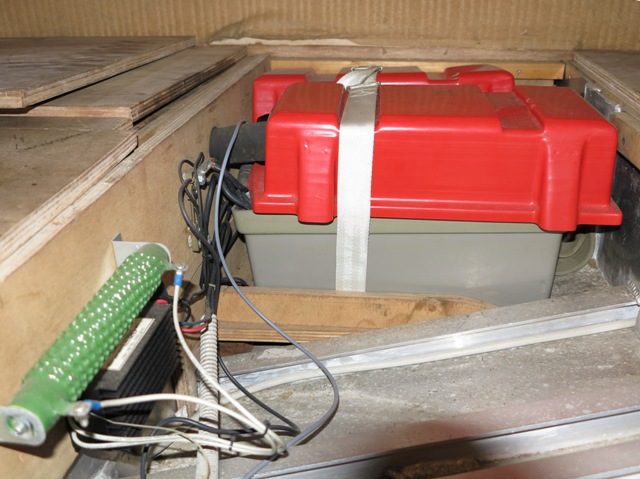
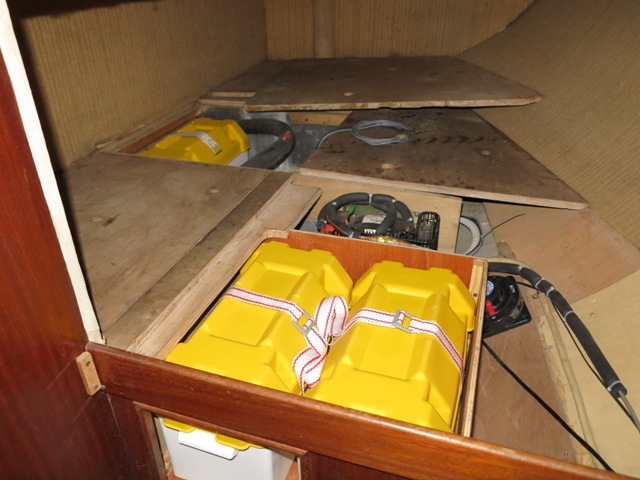
The rearranged cool-box BATTERIES: originally there was only one battery, located just above the engine (a VERY poor and dangerous solution!); somebody in the past decided (very rightfully) to add a second battery and move them to a space behind the engine. Too bad that the available space was not enough and the installation was done haphazardly, even running the engine's exhaust pipe through the battery boxes!!! We wanted to increase the number of service batteries, so we changed their location in a space vacated by one of the refrigerator units and left only the starter-battery in part of the original space. New battery boxes and a ventilation duct to let the hydrogen built up during charging to escape outside, and we're done!
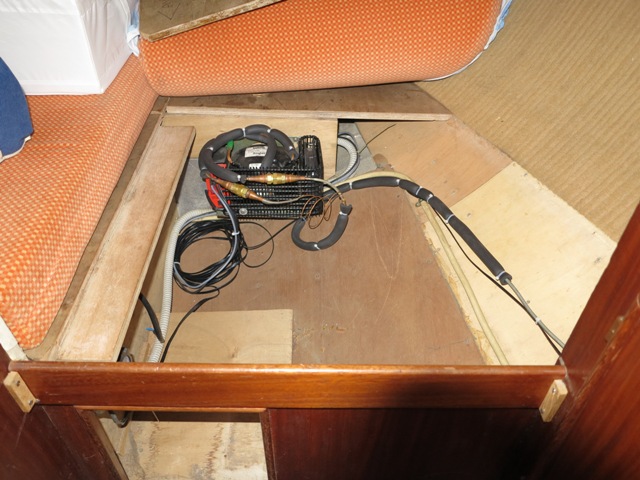
The original battery set-up and the new setting, with one battery more ELECTRIC WIRING: we did a temporary job back in Fiumicino, and it was now time to fix it! Having taken care of the batteries, we tackled the cut-off switches which were working but were in bad shape, and the cables running from them, grossly under-dimensioned.
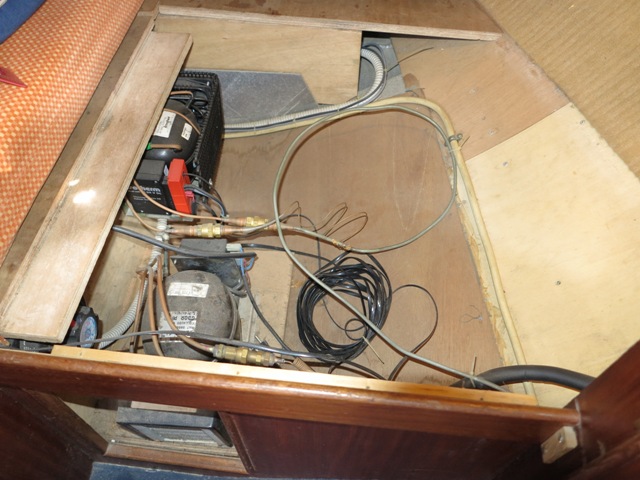
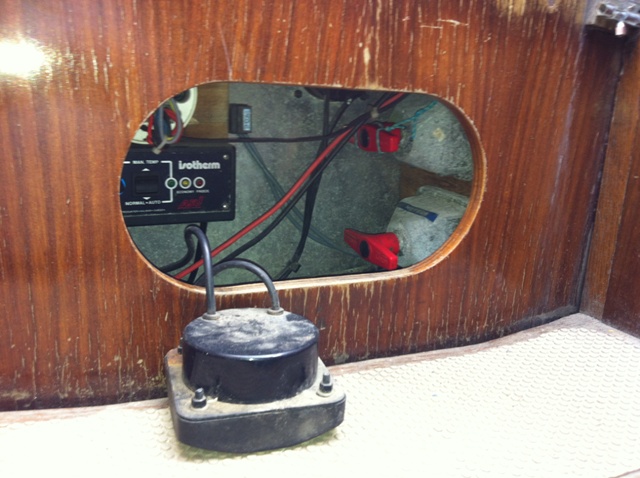
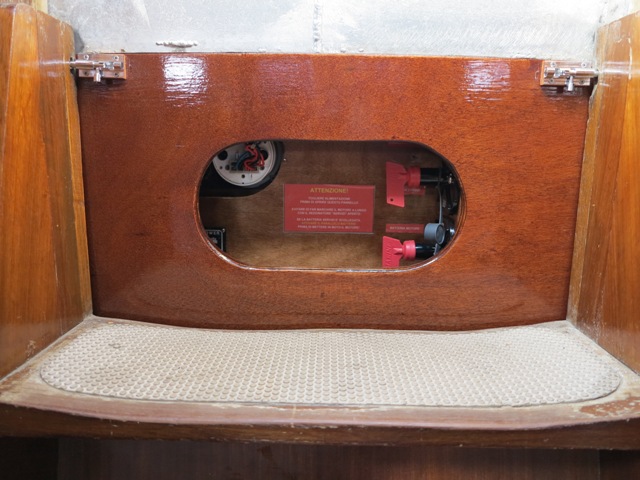
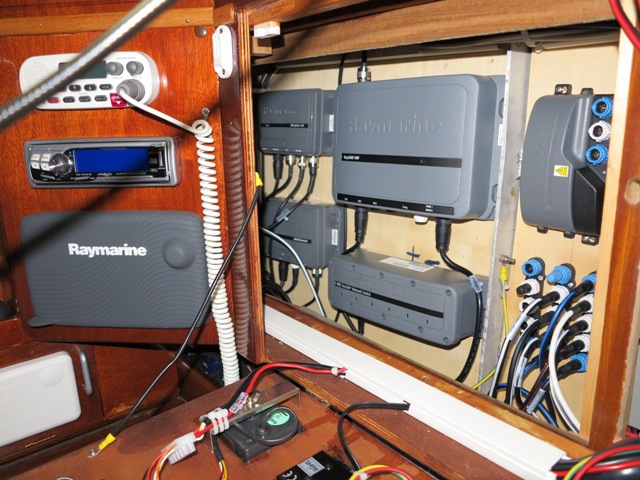
The cut-off switches, before and after... Ad now, the main distribution panel:
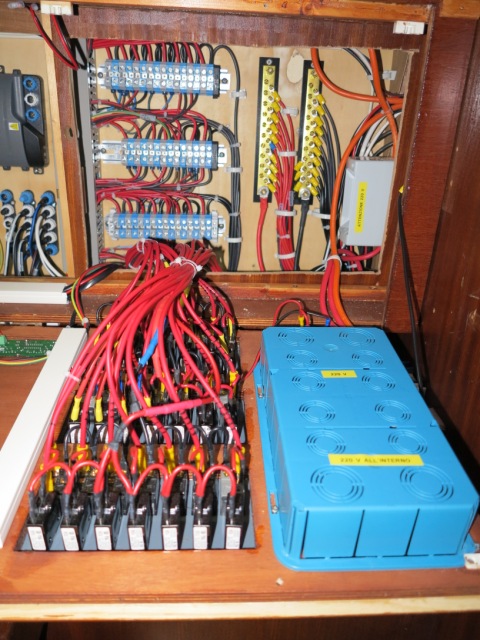
Behind a fold-down panel, the electric distribution on the right, and the various Raymarine control boxes on the left
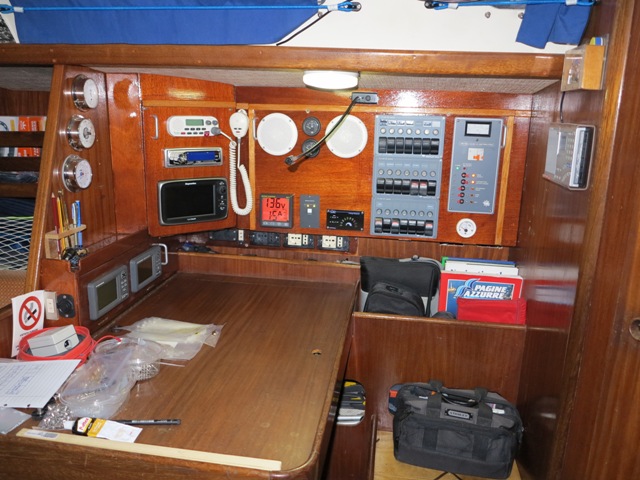
The totally renewed switchboard and instrument panels INSTRUMENTS: we wanted to keep the number of electronic
instruments to a bare minimum, taking advantage of the ability of modern
multi-function displays to act as repeaters for all the instruments connected to
the network.
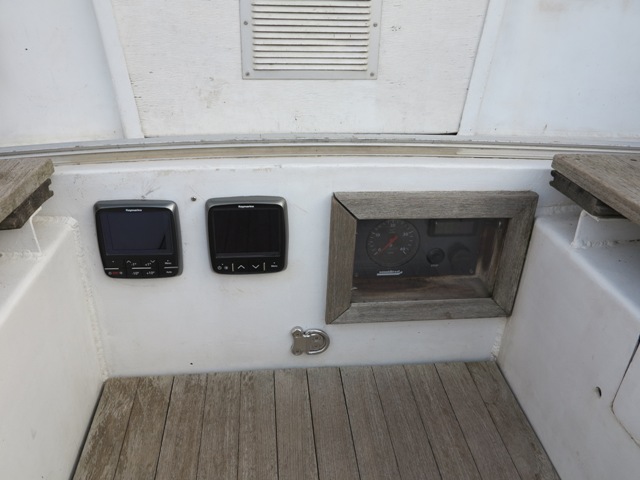
In the cockpit, beside the engine's switchboard, the Raymarine Log/Depth/Wind multifunction display and the autopilot control head; we also plan to install a second chartplotter on the cabin roof, a commodity we cannot do without, expecially when sailing short-crewed.
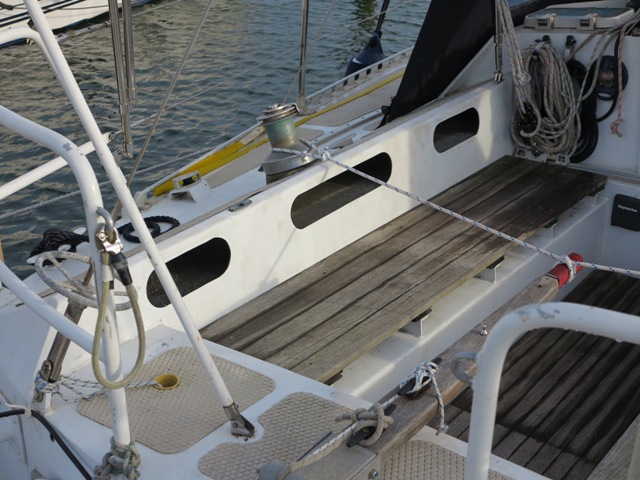
COCKPIT LOCKERS: similar to Shaula3, which we often use as a reference for good practices, also this boat has the cockpit washboard that can be used to stow small items like ropes, winch handles, binoculars and the like, but for misterious reasons the yard had made only ONE access hole on each side, which does not allow to reach the extremities of the lockers, so we cut two additional holes!
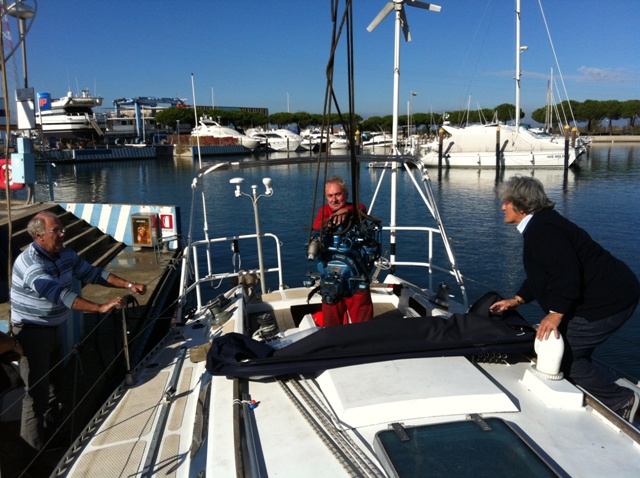
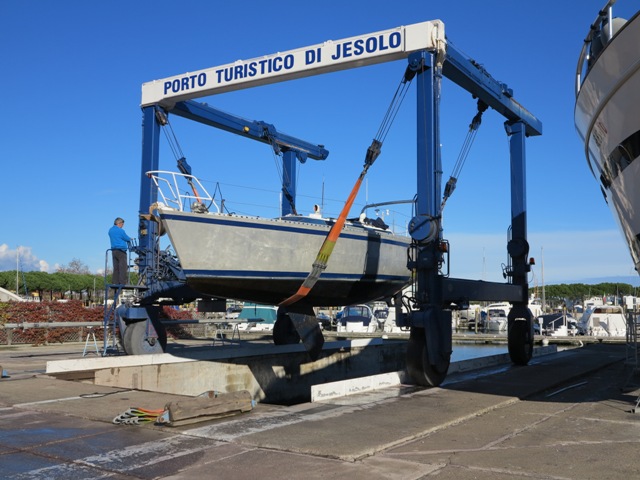
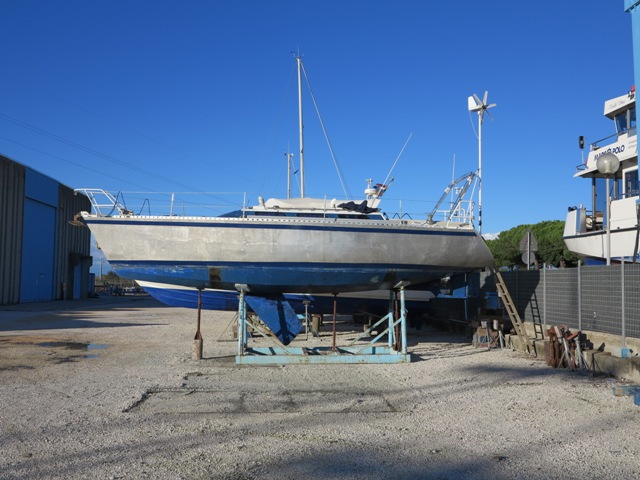
The season is coming to an end, it's getting cold and it rains often: time to put the boat on the hard for the winter!
After the mast, also the engine is leaving the boat, which is then lifted out for the winter season
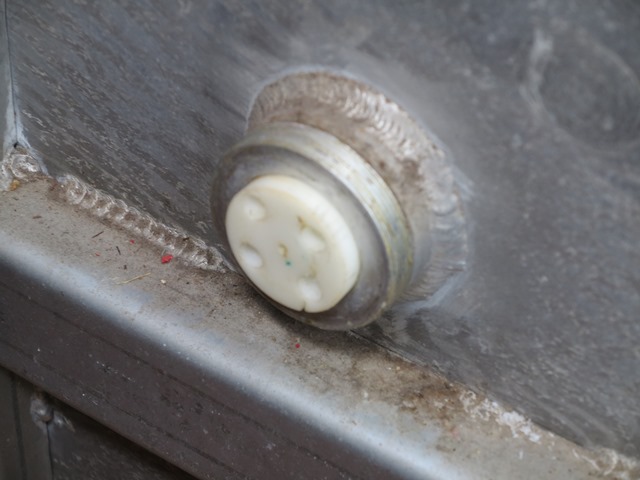
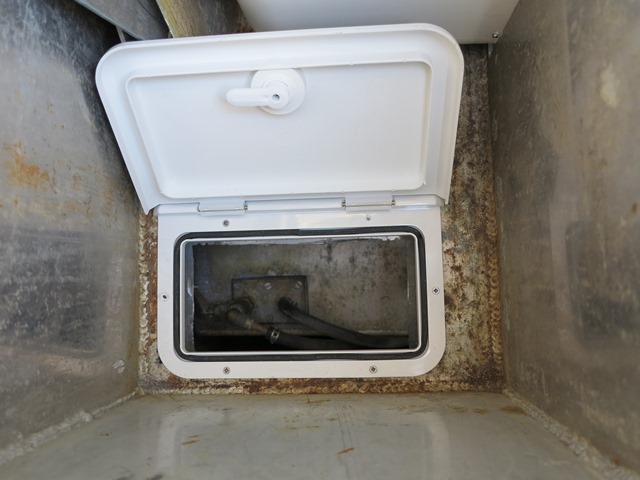
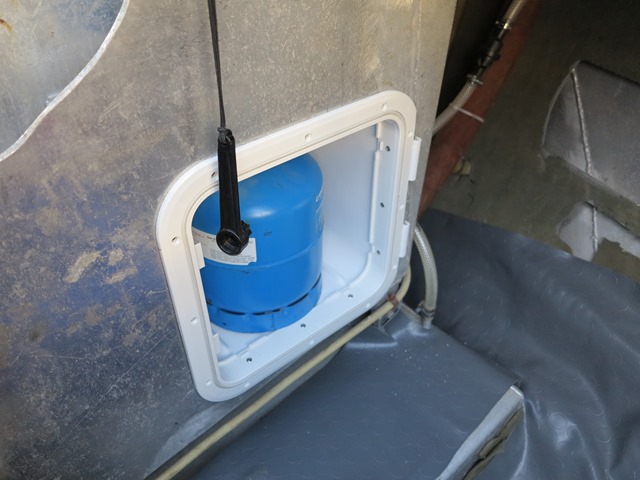
In fact the system is there, and it's fairly ingenuos indeed: on each side of the keel, there are two threaded nylon cylinders which can be screwed in to reduce the keel's play. The only problem, and probably the reason why they are not tight as they should, is the fact that a special key would be required to turn them, and this tool is not on board! We scratch our heads and try to fabricate a replacement for the missing key: not easy, because the cylinders are very tight (after all, they must be water-tight!) but after some trials we find the solution, modifying a standard wrench which allows us to take out and then put back in the damn cylinders! Only problem, and not minor: if we reduce the keel's play to an acceptable minimum, the keel does not lift anymore, it gets stuck! OK, it may be a problem of cleaning up the keel, a job for next spring. GAS-BOTTLE LOCKER: with a last-minute change of mind, we locate a gas-tight bottle locker inside the main cockpit locker, only to realise that this solution is not in compliance with the regulation, therefore we will have to find another solution. While we were at it, we also opened an inspection hatch to reach the fuel tank's main tap, which is buried under the former gas locker and is otherwise out of reach!
The fuel tank's inspection hatch, and the gas-tight bottle locker (the door is missing in the photo!) THE SEASON IS OVER, WE GO BACK HOME! CONTINUE READING ABOUT WORKS IN 2014
|
|
Webmaster: Gianfranco Balducci - email: gfbalduc@tin.it Last Update: 07/09/2017
The
Shaula4 website (text and images) by Gianfranco Balducci is licensed under a |